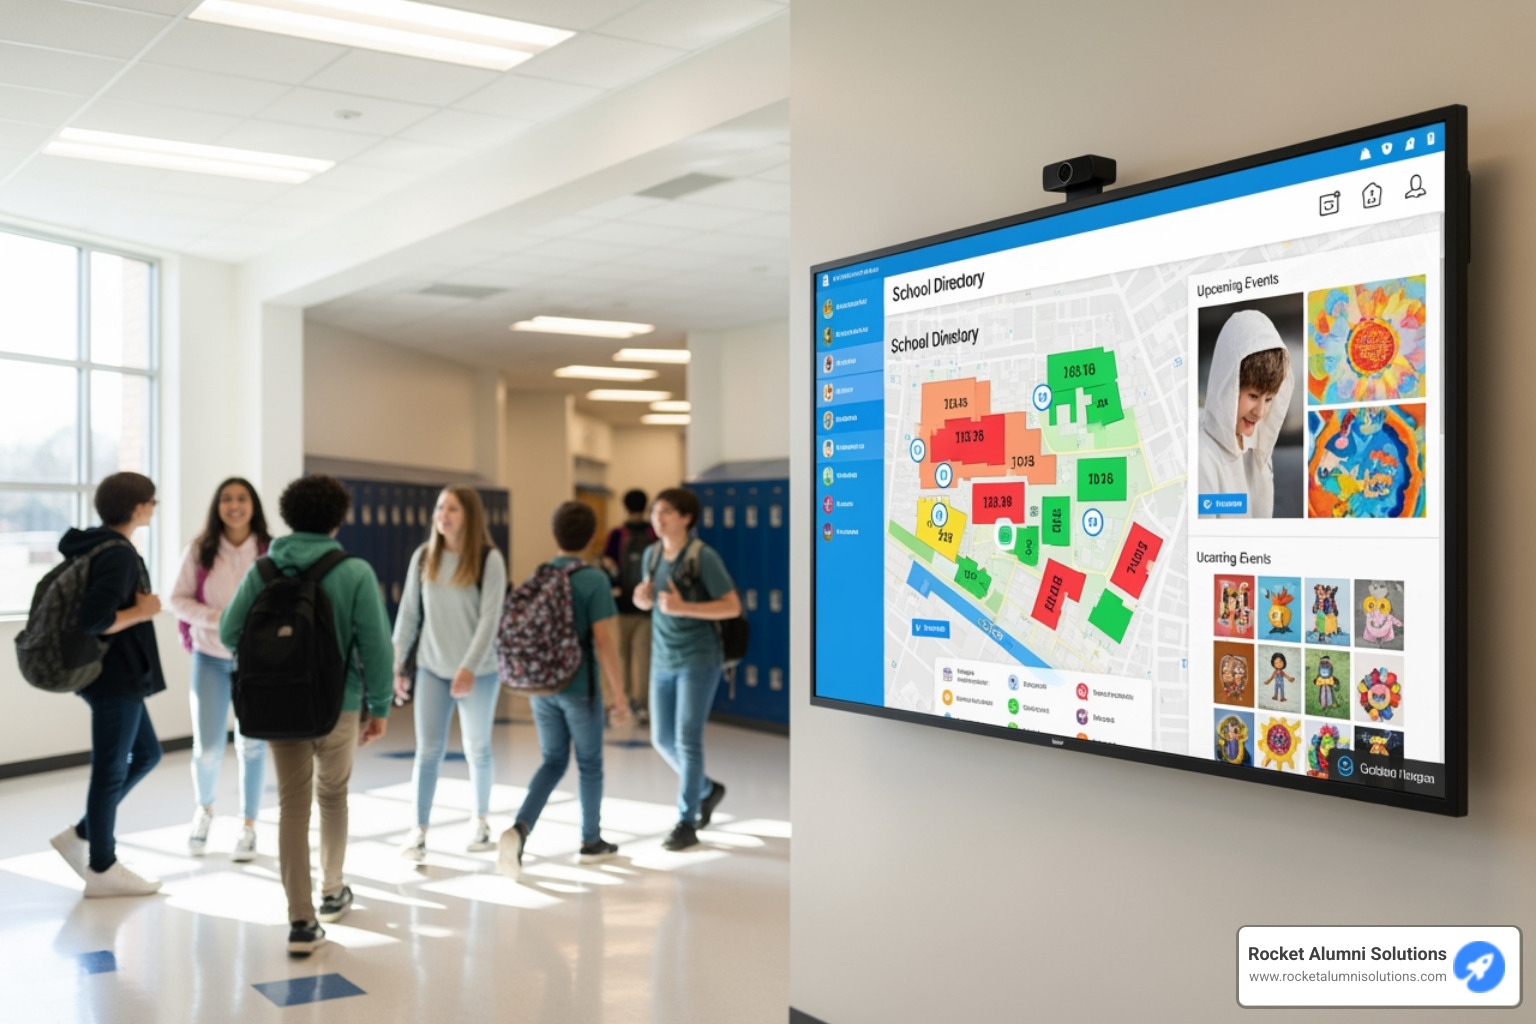
Why Yearbook 360 is Essential for Capturing School Memories
Yearbook 360 provides a modern solution to yearbook creation, enabling schools to craft digital yearbooks easily while preserving cherished memories. If you're considering Yearbook 360 for your school, here's a quick glance at why it's the best choice:
- Streamlined Design: Reuse past designs for consistency and save time.
- User-Friendly Tools: Easy photo uploads, text addition, and layout customization.
- Community Engagement: Highlight contributions of students, staff, and community members.
- Cloud-Based Access: Edit and view from any device, reducing administrative workload.
- Interactive Elements: Support for videos, audio clips, and interactive media.
Creating a digital yearbook with Yearbook 360 ensures every moment and achievement is captured and celebrated. Whether you're highlighting sports teams or academic achievements, this platform helps you compile a dynamic yearbook that tells the story of your school year.
I’m Chase McKee, founder of Rocket Alumni Solutions. From starting a high school project, I grew this company to support 500 schools today. My experience with Yearbook 360 spans years, focusing on delivering user-friendly tools for capturing and celebrating school memories.
Transitioning to our next section, let's explore the comprehensive features of Yearbook 360.
Comprehensive Features of Yearbook 360
System Requirements
To get the best experience with Yearbook 360, you need a stable and strong internet connection. A wired connection using Cat5e or better cables is recommended for optimal performance. While wireless connections are possible, they can be slower and less stable. If you must use Wi-Fi, stay close to the access point.
Logging In and Navigation
Logging in to Yearbook 360 is simple. New users receive a welcome email with their username and password. Existing users can use their current credentials.
- Go to walsworthyearbooks.com.
- Click "Login" in the upper right corner.
- Enter your username and password, then click "Login."
Once logged in, you’ll land on the home page, which functions as a dashboard. Here, you can quickly access important information about your yearbook.
Primary Navigation:- Ladder View: See a visual representation of your yearbook's progress.- Book Progress: Track the status of each section or spread.
Communication Tools
Effective communication is key to successful yearbook creation. Yearbook 360 offers several tools to help you stay connected with your team.
Message Center
The Message Center allows you to send and receive messages within the platform. It's a great way to keep everyone updated without leaving the Yearbook 360 environment.
To-Do's
Use the To-Do’s feature to assign tasks and track their completion. This ensures everyone knows what needs to be done and when.
These features make Yearbook 360 a powerful tool for creating a memorable yearbook. Next, we'll dive into how to get organized with Yearbook 360.
Getting Organized with Yearbook 360
Getting organized is crucial for creating a yearbook that truly reflects your school's spirit. Yearbook 360 offers a range of tools to help you manage everything from user accounts to design elements like fonts and colors.
Creating User Accounts and Setting Permissions
Before diving into the creative aspects, you need to set up user accounts for your team. This is done through the Plan Book area.
- Create New Users: Click on "Set up and edit staff" to start. Then, use the "Create new user" link to add a new team member.
- Fill in Details: Enter the new user’s name, User ID, and a temporary password. The user will need to change this password upon first login.
- Set Permission Levels: Choose from three default permission levels:
- Administrator: Full access to all features.
- Editor: Can edit spreads and use most management features.
- Staff: Limited to working on assigned spreads.
You can also customize permissions by clicking "Set custom permissions" and selecting specific areas for access.
Choosing Fonts and Setting Up Color Styles
Yearbook 360 allows you to choose from a wide selection of fonts and set up custom color styles to ensure your yearbook has a consistent look.
- Selecting Fonts:
- Click on "Fonts" in the Plan Book task menu.
- Browse through the available fonts and click to select up to 30 fonts for your project.
- You can remove a font by clicking the red "x" in its preview box, except for the default fonts, Helvetica and Times.
- Setting Up Color Styles:
- Click "Color Styles" in the Plan Book task menu.
- Click the "New" button to create a custom color style.
- Select your desired colors from the Walsworth Formula Color options.
- Name your custom style, such as “Sports section,” and click "Create."
Entering Spread Details and Assigning Staff
Planning coverage is one of the first and most important tasks. You can enter spread details like topics, due dates, and color information through your Ladder in Plan Book.
- Enter Spread Titles:
- Click on a spread within the Ladder preview to open the spread details screen.
- Fill in the title, due date, and any other relevant information.
- Assign Staff to Spreads:
- After entering the spread details, you can assign specific staff members to each spread.
- This ensures everyone knows their responsibilities and deadlines.
With these tools, organizing your yearbook project becomes a breeze. Next, we'll explore how to work with photos in Yearbook 360.
Working with Photos in Yearbook 360
Creating and Managing Photo Albums
One of the first steps in your creative yearbook process will be to get photographers on assignments to document the year. Once those images are taken, they need to be uploaded and processed. Within Yearbook 360, you will organize your images in the Photos area, which can be found in the main navigation bar.
Creating photo albums is simple and provides the structure to keep your yearbook images organized as the year progresses. You can name your photo albums by date, event, or section—whatever makes sense for your workflow.
To create a photo album:
- Log in and click on 'Photos' in the main navigation.
- Click +New Album.
- Enter a name for the photo album and click Save.
Uploading Images
Uploading images in Yearbook 360 is straightforward. The image uploading window can be accessed by clicking the Upload Photos link in the footer navigation, which is persistent on every screen.
Supported file types: .tif, .tiff, .jpg, .jpeg, .png. For the best quality, upload photos with a resolution of 300 dpi. There is a 25 MB size limit on photos.
To upload images:
- Click Upload Photos in the footer navigation.
- Select images using one of three methods: drag and drop, click Choose Photos, or upload from Google Drive.
- Use the Choose album drop-down menu to pick a Photo Album for the images. You can also create a new album.
- Optionally, type in a topic for the photo in the Add a topic text field.
- Click Upload. The progress will display on the right side and notify you when completed.
Yearbook Snap
Another way to acquire photos is through Yearbook Snap, Walsworth’s web tool and mobile app. It's available for free in the App Store and Google Play. Yearbook Snap allows your community—students, parents, teachers—to take photos at events and upload them directly to your yearbook project.
Tagging and Recommending Images
Tagging images helps you search for photos later. You can tag images with student names, events, or any other relevant information.
To tag an image:
- Click on a photo to open it.
- Use the Tags field to add relevant tags.
Recommending images to a spread or staff member is also easy. This feature ensures that the right images get to the right people.
To recommend an image:
- Click on a photo.
- Click Recommend in the menu below the photo.
- Choose Recommend to someone and select the staff member.
Using the Photo Tray
The Photo Tray is located in the footer navigation and provides quick, easy access to your images when working in Yearbook 360. You can pull up photos from your My Favorites album, see images recommended for you, or scroll through your photo albums.
Key features of the Photo Tray:
- Placed indicator: Shows if an image has been placed on a page.
- Not placed checkbox: Filters to show only images not yet placed.
- File Name checkbox: Sorts thumbnails alphabetically.
- Find file name field: Searches for photos by file name.
Searching for Photos
With hundreds of images accumulated throughout the year, searching for specific photos becomes crucial. Yearbook 360 allows you to search using Photo Albums, Topics, and Tags.
To search for an uploaded photo:
- Use the Search Topics drop-down menu to choose a photo Topic.
- Use the Search Students field to find photos tagged with a student name.
Organizing your photos with Yearbook 360 is efficient and user-friendly, ensuring you have the right images at your fingertips when you need them.
Next, we'll dive into the page editing and design tools available in Yearbook 360.
Page Editing and Design Tools
Launching a Page Editor Session
The Yearbook 360 page editor offers a powerful yet user-friendly interface for designing your yearbook spreads. To get started:
- Open a spread in an Online Design session.
- Use the Tool menu on the left to access various design tools.
The page editor is equipped with intuitive menus and palettes that make the design process smooth and enjoyable.
Online Design Tools
Yearbook 360 comes with a variety of online design tools:
- Text Tool: Add headlines, captions, and articles. Simply click the Text tool, drag to create a text box, and start typing.
- Photo Tray: Add images to your page by dragging them from the Photo Tray, which displays thumbnails of your uploaded images.
Menus
Menus are located at the top of the screen and include:
- File: Save, close, and export your spread. You can also save a spread as a custom template.
- Edit: Undo, redo, cut, copy, paste, and delete objects.
- Object: Group, ungroup, lock, and unlock objects. Convert text to shape for creative effects.
- View: Adjust visual settings, show grids, and set columns and rows.
Palettes
Five palettes appear on the right side of the screen, offering more advanced settings:
- Object Palette: Adjust the size and borders of shapes and photos.
- Type Palette: Modify font, size, leading, and kerning.
- Photo Palette: View photo details and apply effects.
- Layout Palette: Align and distribute objects evenly. Use Text Wrap to control how text flows around images.
- Effects Palette: Add drop shadows, transparency, and gradients.
Applying Templates and Master Pages
Templates and master pages help maintain consistency throughout your yearbook.
Custom Templates
To create a custom template:
- Open a spread in an Online Design session.
- Design your spread.
- Go to File > Save As Custom Template.
Name your template and save it. It will now appear in the Custom Templates area within Plan Book.
Assigning Templates
To assign a template to a page:
- Go to the Plan Book area.
- Select the desired template and apply it to your spread.
Editing Master Pages
Master pages are templates that apply to multiple pages, ensuring uniformity in design elements like headers and footers.
To edit a master page:
- Open the Master Pages section in Plan Book.
- Make your changes and save.
Master pages streamline the design process, making it easy to keep your yearbook looking polished and professional.
In the next section, we'll explore how to leverage Yearbook 360 for sales and marketing, including setting up online sales and tracking orders.
Sales and Marketing with Yearbook 360
Setting Up Online Sales and Coupon Codes
Setting up online sales for your yearbook is a breeze with Yearbook 360. The platform allows you to manage sales directly from your dashboard, making it easy for parents and students to purchase their copies.
Steps to set up online sales:
- Navigate to the Sales Section: From the home page, click on the "Sales" tab.
- Set Up Payment Options: Choose your preferred payment methods, like credit cards or PayPal.
- Create a Sales Page: Customize your sales page with school colors and logos.
- Launch Sales: Publish your sales page and share the link with your community.
To boost your sales, you can also create coupon codes. These codes offer discounts and can be a great incentive for early buyers or bulk purchases.
Creating coupon codes:
- Go to the Coupon Codes Section: Under the "Sales" tab, click on "Coupon Codes."
- Generate Code: Click "Create New Code" and enter the discount details.
- Set Parameters: Define the validity period and usage limits.
- Share the Code: Distribute the coupon code via email or social media.
Tracking Orders and Marketing Strategies
With Yearbook 360, tracking orders is straightforward. The platform provides real-time updates and detailed reports on your sales.
Key features for tracking orders:
- Order Dashboard: View all orders in one place, including buyer information and payment status.
- Real-Time Updates: Get instant notifications for new orders.
- Detailed Reports: Generate reports to analyze sales trends and buyer demographics.
Effective marketing strategies can significantly impact your yearbook sales. Here are some tips:
Marketing Strategies:
- Leverage Social Media: Share sneak peeks and behind-the-scenes content on platforms like Instagram and Facebook.
- Email Campaigns: Send regular updates and reminders to parents and students.
- School Events: Promote your yearbook at school events and assemblies.
- Early Bird Discounts: Offer discounts for early purchases to encourage quick sales.
Tracking Buyer Behavior:
Yearbook 360 also allows you to track buyer behavior. This data can help you understand which marketing strategies are most effective.
Buyer Tracking Features:
- Purchase History: See who has bought a yearbook and their purchase history.
- Engagement Metrics: Track how buyers interact with your sales page and marketing emails.
By utilizing these tools and strategies, you can maximize your yearbook sales and ensure a successful yearbook campaign.
In the next section, we'll address some frequently asked questions about Yearbook 360, including how to log in and the system requirements.
Conclusion
At Rocket Alumni Solutions, we understand the importance of preserving school memories. That's why we've created Yearbook 360—a comprehensive tool that simplifies yearbook creation while making it fun and collaborative.
Our digital yearbook services are designed to meet the needs of modern schools. With Yearbook 360, you can create interactive yearbooks that include photos, videos, and even personal messages. These digital yearbooks are not just a keepsake but a living document that can be updated and shared easily.
One of the standout features of Yearbook 360 is our user-friendly templates. We offer a variety of customizable templates for everything from yearbook pages to digital invitations and award certificates. This means you can maintain a professional look without spending hours on design work. Our templates are designed to be intuitive, allowing you to focus on celebrating achievements rather than getting bogged down in logistics.
Another key feature is social media integration. Imagine sharing highlights and updates from your yearbook in real-time across various social media platforms. This feature not only extends the reach of your yearbook but also engages a broader audience. It's a fantastic way to keep the school community connected and excited.
By leveraging Rocket Alumni Solutions' advanced technology and user-friendly tools, you can take your school’s yearbook to new heights. Ready to make your next yearbook unforgettable? Learn more about our digital interactive yearbook services and how we can help you celebrate achievements in style.
Let's create something memorable together!